Showing posts with label recipe. Show all posts

Thursday, September 29, 2016

Recipe: Pretzel Buns

As soon as the latest issue of LandLust Magazine hits the shelves in Germany, my dad sends me a copy here to the US. I love this magazine - reading it and looking at the pictures is like a mini escape to Germany. 
So, when this latest issue had recipes for pretzels and pretzel buns, I knew I had to try making them immediately. As long as I can remember, I have loved pretzels. Growing up in Germany, they were a regular part of my life. And while we can find them here now once in a while, they aren't quite the same.
 So, by popular request on Facebook, I translated the recipe and adapted it to American ingredients.


Pretzel Buns
(makes about 16 buns)

Ingredients: 

500g All-Purpose Flour
2 1/4 teaspoon dry yeast
1/2 teaspoon sugar
2 teaspoons salt
40g softened butter

For the brine:
50g baking soda

Possible toppings:
coarse salt,
seeds (sesame, poppy, pumpkin, sunflower),
or a little grated cheese

1. Dissolve yeast and sugar in 320ml lukewarm water.
2. Using the dough hook on the mixer, work the flour, salt and softened butter into the yeast water. Knead the soft dough for at least five minutes (I had to add a little more flour to keep the dough from sticking).
3. Form the dough into a ball, put into a large bowl, cover and allow to rise for either 2 hours at room temperature or over night in the refrigerator. (I allowed it to rise over night and made the buns for breakfast.)
4. After the dough has risen, divide it into 16 equal parts, form each one of them into a small ball, cover and allow to rest for 15 minutes.
5. Preheat the oven to 465 degrees F (240 C).
5. Meanwhile bring 1.5 liters of water to a simmer. Add the baking soda carefully as it will foam quite a bit initially.
6. Add three or four of the dough buns at a time to the simmering water for about 45 seconds, turning them once.
7. Remove from the water, allow excess water to drip off and put on a parchment-lined baking sheet. (I used a Silpat baking mat, which worked great.) With a sharp knife, cut a cross into the top of each bun and sprinkle with your topping of choice. Allow to rest for 15 minutes.
8. Bake for 15 minutes or until nicely browned and your kitchen smells like a German bakery.
9. Try not to devour all of them. By yourself. In one sitting.

Enjoy!! Easy and delicious! And if you make the dough the night before, you can have fresh buns for breakfast. Also, they freeze really well.

A note: This recipe is easiest if you have an electronic kitchen scale that also measures in grams. For the liquids, 1 ml is equal to 1 gram, so you can weigh them on the scale as well.

Tomorrow, I'll have a bunch of art for you! In the meantime, have a beautiful Thursday!


Silke

Tuesday, November 24, 2015

Cranberry Sauce

It's the first thing I always make for Thanksgiving dinner and it always feels like the official beginning of the holiday season to me.
I found this recipe in a 1994 issue of Bon Appetit and have made it ever since. I thought I'd share it with you.

Cranberry Sauce

1 1/4 cups sugar
1/2 cup raspberry vinegar
1/4 cup water
1 12-oz package fresh cranberries (about 3 cups)
1 cinnamon stick
1 tablespoon thin orange peel strips

Combine first 3 ingredients in heavy medium saucepan over medium-high heat. Bring to boil, stirring until sugar dissolves. Mix in cranberries, cinnamon stick and orange peel. Reduce heat, cover partially and simmer until berries burst, about 10 minutes. Remove from heat. Cool completely (sauce will thicken as it cools). Discard cinnamon stick. (Can be made up to 1 week ahead. Cover and chill.) 

Makes about 2 1/3 cups

Super easy. And so delicious. Enjoy!!

Silke

Thursday, November 6, 2014

Paella

Several friends on Facebook have asked for my paella recipe, so I thought I'd write it down and post it here so I can find it as well if I need it again. I studied several recipes (everyone seems to have a different version) and came up with one that we really like and that works well and isn't too complicated. The one I followed most closely was a recipe for grilled paella (click here to see it).
Paella

16 large shrimp (about 12 ounces), peeled and deveined
1 teaspoon smoked Spanish paprika (pimentón dulce)
Freshly ground black pepper
1 pound boneless, skinless chicken thighs, cut into 1-inch pieces
8 ounces Spanish chorizo, cut into 1/4-inch-thick rounds
1 to 2 tablespoons olive oil, as needed
1 medium yellow onion, small dice
2 medium garlic cloves, finely chopped
1 cup diced canned tomatoes with the juice
1 large pinch saffron threads
2 cups paella rice (about 1 pound), sometimes labeled bomba or Valencia
1 teaspoon kosher salt, plus more for seasoning the shrimp and chicken
4 cups (1 quart) low-sodium chicken broth
16 mussels, Manila clams, or a combination, scrubbed (or more)
squid or any other seafood you’d like to add
2 tablespoons coarsely chopped fresh Italian parsley leaves
2 medium lemons, cut into 8 wedges each, for serving

Place the shrimp in a medium bowl, add 1/4 teaspoon of the paprika, and season with salt and pepper. Toss to combine and refrigerate.

Place the chicken in a medium bowl and season generously with salt and pepper; set aside.

Heat a large deep pan over medium high heat. Add the chorizo to the pan and cook, stirring occasionally, until the sausage is starting to brown and the fat is rendered, about 2 to 3 minutes. Using tongs or a slotted spoon, transfer the chorizo to a large bowl; set aside.

There should be a thin layer of rendered fat in the pan. If there’s not enough, add 1 to 2 tablespoons of olive oil. Add the seasoned chicken to the pan in a single layer and sear, stirring occasionally, until both sides of the chicken pieces are golden brown, about 6 minutes total. Using tongs or a slotted spoon, transfer the chicken to the bowl with the chorizo; set aside.

Add the onion to the pan, season with salt and pepper and cook, stirring occasionally, until softened, about 5 minutes. Add the garlic, remaining 3/4 teaspoon paprika stir to combine, and cook until fragrant, about 30 seconds.

Add the cup of diced tomato with the juice and cook until the mixture has slightly darkened in color, scraping up any browned bits from the bottom of the pan, about 3 minutes.

Meanwhile infuse half the hot chicken stock with the saffron. Add the rice and measured salt and stir to coat in the tomato mixture. Add infused stock and leave to cook on a medium heat, stirring from time to time.

After 20 minutes the rice should be nearly cooked. At this point add the reserved chorizo and chicken, pour in the rest of the stock along with the peas, prawns, the mussels, clams and squid if you are using them. Arrange the shellfish hinge-side down on the rice, pushing each mussel or clam a little bit into the rice.

Place a lid on the pan and cook for 10 minutes more without stirring. You want that rice to get just a little crisp on the bottom of the pan. And you want all the clams and mussels to be opened.

Remove the pan from the stove, cover with foil, and let stand for 5 minutes. Before serving the paella, discard any unopened shellfish and sprinkle the dish with the parsley. Serve with the lemon wedges.

Serves 8

Notes:

It really helps doing all your prep work ahead of time, especially getting all the seafood ready. And the veggies as well. Then when it comes to cooking time, you can just add the things and it won't be stressful.

The smoked paprika is what gives it that very distinct flavor. It used to be hard to find, but now many grocery stores carry it.

If you can't find paella rice (I ordered mine from Amazon), I read that you can substitute arborio rice.

Also, it's a great dish to play with the ingredients depending on what you like. I'll definitely be making it again!!


Silke
P.S. I have so much going on right now and so many thoughts swirling around in my head, I'll have much more to share with you next time!! 

Tuesday, September 23, 2014

Happy First Day of Fall!

Fall is here and I'm doing the happy dance! And - like a miracle here in the warm south - we are having a truly fall-like day.
It is cloudy and slightly rainy, blustery and cool. I cannot describe to you how giddy that makes me...
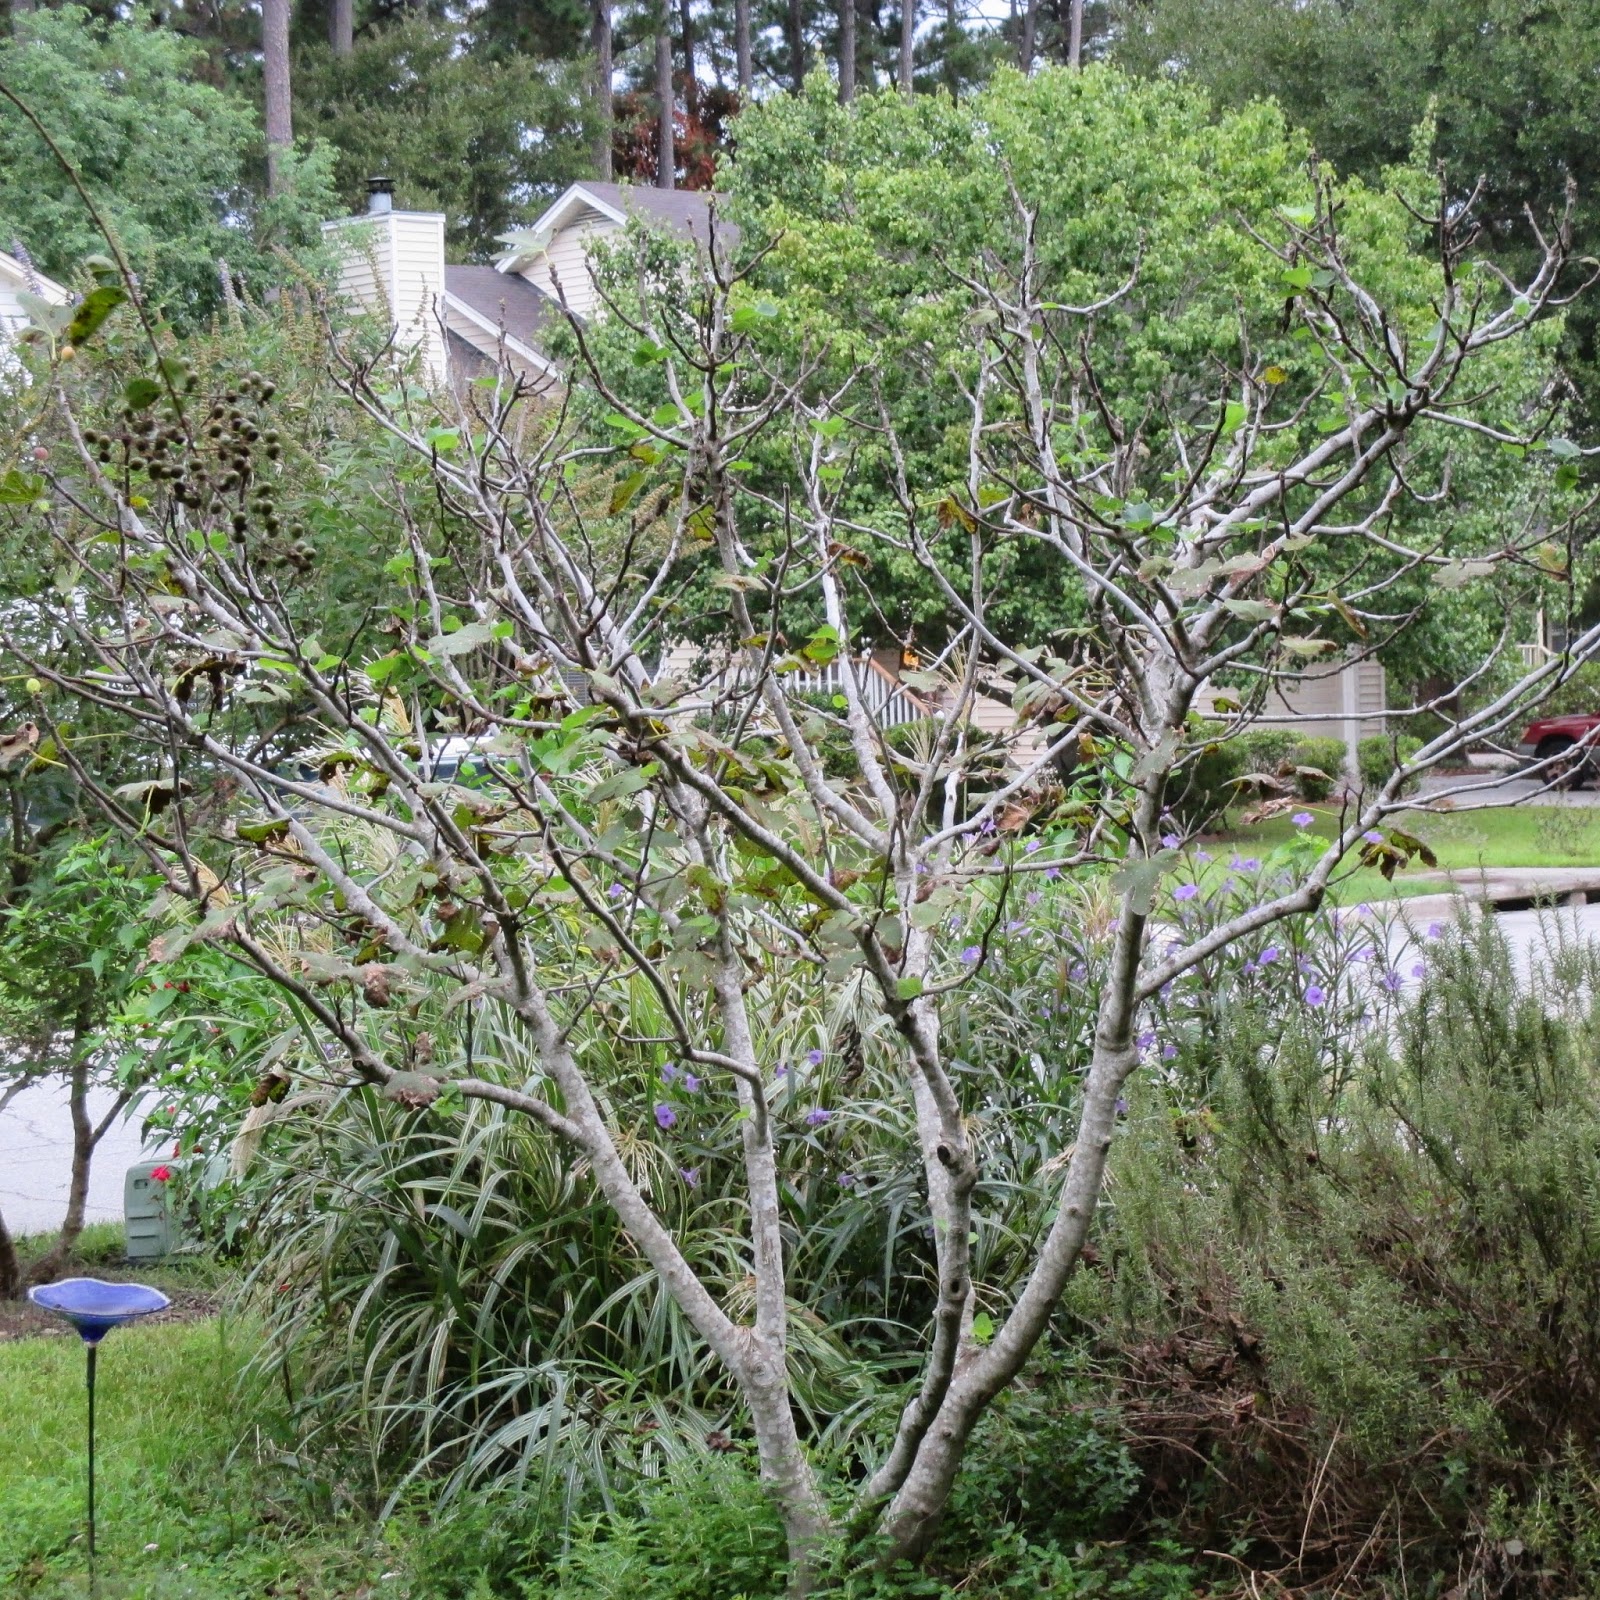
And outward signs of fall are here as well. Just look at our fig tree below. It's almost bare! It starts losing its leaves in August when we are still sweating profusely. Every year I think it must be sick or confused, but it always turns out to be right on fig-tree-time getting ready for winter.
Our crepe myrtle leaves turn the prettiest colors before they fall.
And the crepe myrtle tree is also starting to look bare. Both the fig tree and this one look beautiful all winter long without leaves and their gorgeous branch structures showing.
Fall also means that the berries on our beauty berry bushes are turning their bright bright pink color. Don't they look unreal? And guess who likes to eat them? The mockingbirds. We never see them in our backyard unless these berries are ripe. I recently read that you can make really tasty jelly from the berries and that the whole bush has serious mosquito repellent action. I might have to sew some clothes from the leaves for me for next summer...  Seriously considering it!
Tucker, one of our outdoor kitties is happy as well that it's getting cooler. Ok, you can see it's not really cold yet - I'm still barefoot and wearing flip-flops, but it's cool enough to know that summer is on the way out! That's good enough for me. And Tucker.
Fall is my "favoritest" (to quote Derek from the wonderful Netflix series by that same name) season. It holds the promise of all that I love: Knitting and crocheting soft and warm goodies. (These beauties are in my Etsy shop just waiting for you!)
Baking! Oh, how I love to bake! I've now made these delicious and good-for-you blueberry muffins a couple of times and they are yummy. You can find the recipe by clicking here.  I substituted coconut palm sugar for the brown sugar, left out the cinnamon on the second batch and used frozen wild blueberries. The muffins freeze great to have on hand for a little snack now and then. In fact, I might need one right now!
And soup! I could eat soup every day!! And this one is particularly easy and delicious. So delicious that I'll share the recipe with you!  (The bread is the Swedish Limpa Bread - excellent!! -  from Artisan Bread in Five Minutes a Day. If you want to make hassle free breads, check out their website. They also have all kinds of gluten-free recipes for those of you who need to watch your gluten intake.)
Roasted Butternut Squash Soup with Green Chile Cream
from Dinner at the Authentic Cafe

One 2-pound butternut squash
3 T olive oil
2 medium-size shallots, minced (2 T)
1/4 t ground nutmeg
1/4 t ground cinnamon
1/4 t ground white pepper
2 1/2 cups water
1/4 cup mild honey, such as orange
2 t kosher salt (I use sea salt)

1. Preheat oven to 400℉.

2. Rub the squash with 1 T of the oil, place it in a small shallow baking pan, and roast until the skin splits and the squash is tender when pierced with a knife, about 1 hour. Let the squash cool slightly, then peel it, cut it in half, and remove the seeds and the inner membranes to which the seeds are connected. Mash the pulp. You should have about 3 cups.

3. Heat a large, nonreactive saucepan over low heat. Add the remaining oil and heat it, about 1 minute. Cook the shallots, stirring occasionally, until translucent, about 1 minute, then add the spices and cook, stirring, until fragrant, about 1 minute.

4. Place the squash pulp in the same pan and cook it, stirring constantly to prevent sticking, for 2 minutes. Add the water and bring the soup to a boil over medium heat. Reduce the heat to low and add the honey and salt.

5. Simmer the soup, stirring often to keep it from sticking, for 30 minutes. Puree the soup in a blender, food processor or in the pan using a hand-held blender.

6. Ladle the soup into bowls and place a dollop of Green Chile Cream on top. Serve immediately.


Green Chile Cream

1 medium-size poblano chile
1 medium-size jalapeño chile
1 t olive oil
1 1/2 T sour cream or crème fraîche
1/2 t kosher salt
pinch ground white pepper

1. Preheat the oven to 400℉. Rub the chilies with the oil and place them in a small shallow baking pan. Roast them until the skin begins to blister, about 20 minutes. This may be done at the same time you are roasting the butternut squash for the Roasted Butternut Squash Soup. Do not overcook the chile or the flesh will become to fragile to handle. Place the chilies in a small, nonreactive bowl, cover with plastic wrap, and let them "sweat" for 5 minutes. Peel the outer skin from the chilies and remove the stems and seeds.

2. Place all the ingredients in a blender or food processor (I cut everything up quite small and then use my hand-held blender to blend it) until very smooth (we personally don't mind it a little chunky).

***********************
This may look involved, but it really isn't. If you roast the chilies along with the squash, then that's all done at the same time. The rest is easy peasy. And so good! The soup is almost sweet and the chile cream has a nice kick - a perfect combo!

I hope you are having at least as good a day as I am having!! Enjoy this Autumnal Equinox with it's balance between night and day, light and dark.

With much love and fall-giddiness,

Silke

P.S. I can still tell that I had a clerical job for many years - I typed up that recipe like the wind! The wind!! I totally rock. ;-)

Monday, May 12, 2014

Do You Like Green Beans?

Just the other day, I was admiring people who post original recipes on their blogs and websites and I thought how I usually just cook with cookbooks. But then on Saturday I made these green beans that make all the time and never had a recipe for - only an inspiration from some green beans we ate at a restaurant once.
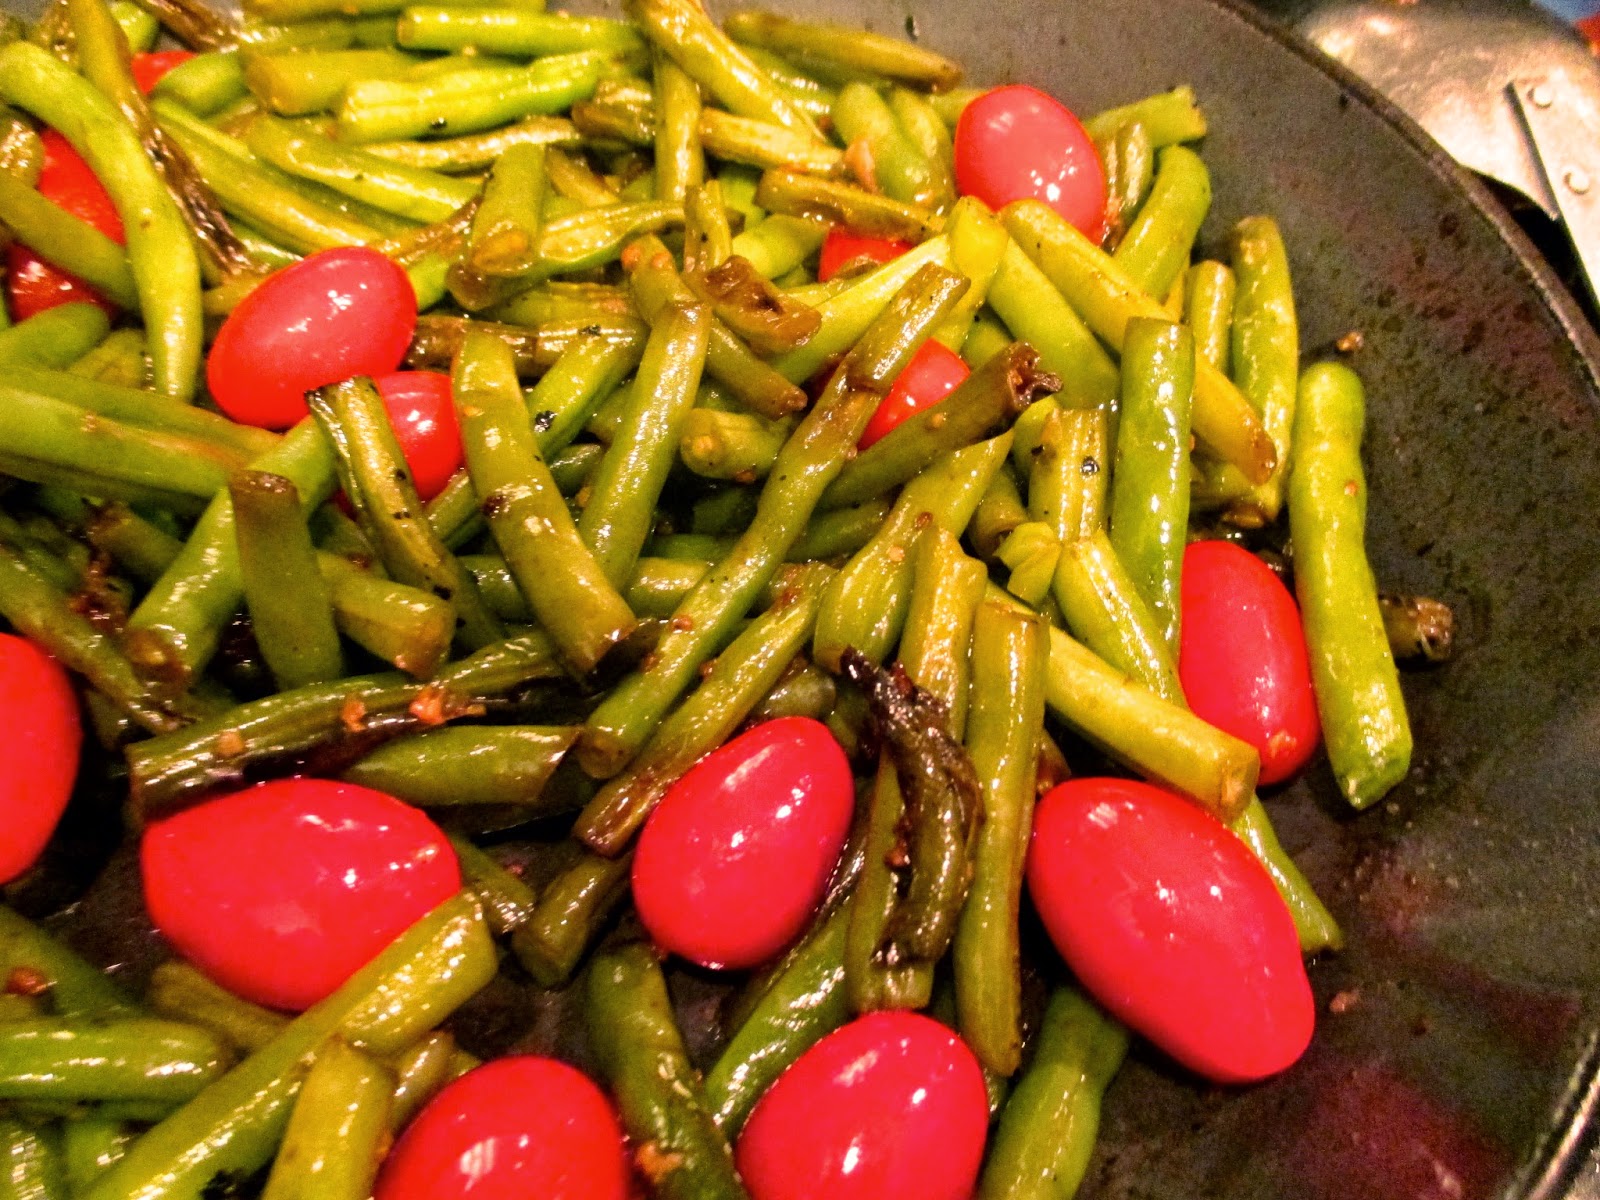
The pork chops and mashed potatoes in the photo were from Jamie Oliver's Meals in Minutes cookbook (I'll do a separate blog post on that sometime). They were both delicious!! The potatoes were mashed with grainy mustard and olive oil, which was new to me and oh, so good! And with it I made "our" green beans. We love them so much I thought I'd share how I make them.
There are no fixed ingredients, so just wing it as I do if you want to try these. It tastes best with fresh green beans and I cut them into 2 inch pieces (about that). I heat some olive oil in a sauté pan, put it over medium-low heat and add the beans.

I turn them once in a while until they start to get soft and a little brown, which takes a while. If they get brown too fast, I lower the heat a little and add a bit of water to help them get soft. (If you are in a time crunch, you can microwave the beans for a few minutes with a little bit of water to start the cooking process.)
When they start to get soft, I add lots of minced garlic (lots!) and whatever else I might like. This time I had some leftover grape tomatoes and added those to slowly cook with everything. Sometimes I add some Herbes de Provence or rosemary or thyme. Or some hot peppers. You can grate some parmesan over it all when it's done. Or add lemon juice. You see, the variations are plentiful! Definitely season with salt and pepper.
The trick is to cook them for a long time until they are soft, brown and are starting to caramelize.

They are delicious!!

Enjoy!!

Silke

Tuesday, February 4, 2014

Felted Slippers and Banana Bread

Do you remember the giant socks from yesterday's post? Well here's the before
...and the after picture. I included the shell in both photos so you can get an idea of the size change when they are washed and felted and warm and fluffy.
The perfect fit and so nice and toasty! If you are interested, there's a link to the pattern in my last post.   I bought it on Etsy some years ago and it's still being offered.
Now, let's talk about Pinterest. I know many of you who are on Pinterest all the time and are pinning away happily. I am hardly ever on it and this is why: it gets me to start new projects every time. I hadn't been on Pinterest yesterday for more than five minutes before I found this recipe for Greek yogurt banana bread.
I realized I had all the ingredients on hand and started making it immediately. Big success!! I used coconut palm sugar instead of the white sugar because I thought the caramel flavor would go well with the rest of the ingredients and it does!

Also, I baked it in a normal-sized loaf pan instead of the mini pans from the recipe and baked it for about 65 minutes. I'm going to slice it all up and freeze it for a convenient and delicious snack when I need one.

And right now, there's a soup in the crockpot - also a Pinterest recipe I found yesterday. It's all good, but Pinterest certainly has the ability to start me on projects I hadn't planned for...

Wishing you a delicious day. With much warmth. And bright colors. And maybe a slice of banana bread...

P.S. I had originally linked to the wrong banana bread recipe, so if you get this post via e-mail, you'll need to go to my blog to find the correct link.

Silke

Monday, January 13, 2014

Color me Orange

Actually, it's more like "Color me Kumquat." Last week before the big freeze, I picked all of our ripe kumquats. Our tree is new from last year, it is tiny, but still I was left with a nice big bowl full of sweet kumquats. Way too many for me to just eat.
So, I did two things - I used them to infuse both some vodka and gin. We did that one year and it was really refreshing for the occasional summertime cocktail. I especially like the slight bitterness.
With the rest of them, I made kumquat marmalade, which was just a little bit time-consuming. But I found a recipe for Moroccan-style kumquat marmalade that I really wanted to try. (You can find the recipe here.)
After removing all the seeds and cutting the kumquats into thin slivers I mixed them with sugar, added some orange juice and some star anise and let the concoction sit in the fridge overnight.
The next day, the marmalade was ready to be cooked. 
I boiled it for about 30 minutes to have it get nice and syrupy. The kitchen smelled wonderfully!
And just before filling it into jars, you add a tablespoon full of orange blossom water. It smelled amazing! The author of the recipe makes the jam to just have in the fridge to use, but I wanted Daniel to taste some when he got back, so I processed my two jars in a water bath so I can keep them for a longer period of time.
I hope your week is off to a good start!!

Silke